Instructions
- Preheat your oven to 250°F (120°C). Line two large baking sheets with parchment paper. This will prevent sticking and make cleanup a breeze.
- Spread the unflavored puffed corn snacks evenly across the two prepared baking sheets. Try not to overcrowd them, as this helps them toast evenly. Set aside.
- In a medium saucepan, combine the unsalted butter, granulated sugar, light brown sugar, light corn syrup (if using), and salt. Place the saucepan over medium heat.
- Stir the mixture constantly until the butter is fully melted and both sugars have dissolved. Bring the mixture to a rolling boil.
- Once boiling, stop stirring and allow the mixture to boil for 3 minutes. Do not stir during this boiling time, as it can cause crystallization.
- Remove the saucepan from the heat. Stir in the vanilla extract, baking soda, and optional ground cinnamon. The mixture will foam up slightly due to the baking soda; this is normal and helps create a light and airy coating.
- Carefully pour the hot caramel mixture evenly over the puffed corn on the baking sheets.
- Using a heat-safe spatula or two large spoons, gently toss the puffed corn with the caramel coating until all the pieces are as evenly coated as possible. Be gentle to avoid crushing the delicate corn puffs.
- Place the baking sheets in the preheated oven. Bake for 1 hour, stirring the nuggets every 15 minutes to ensure even baking and to prevent them from sticking together too much. This stirring is crucial for achieving that signature crunchy texture.
- After 1 hour, remove the baking sheets from the oven. The nuggets should be golden brown and feel crisp.
- Immediately transfer the nuggets from the baking sheets to a large piece of parchment paper or a silicone mat on your countertop. Spread them out in a single layer to cool completely. As they cool, they will become even crunchier.
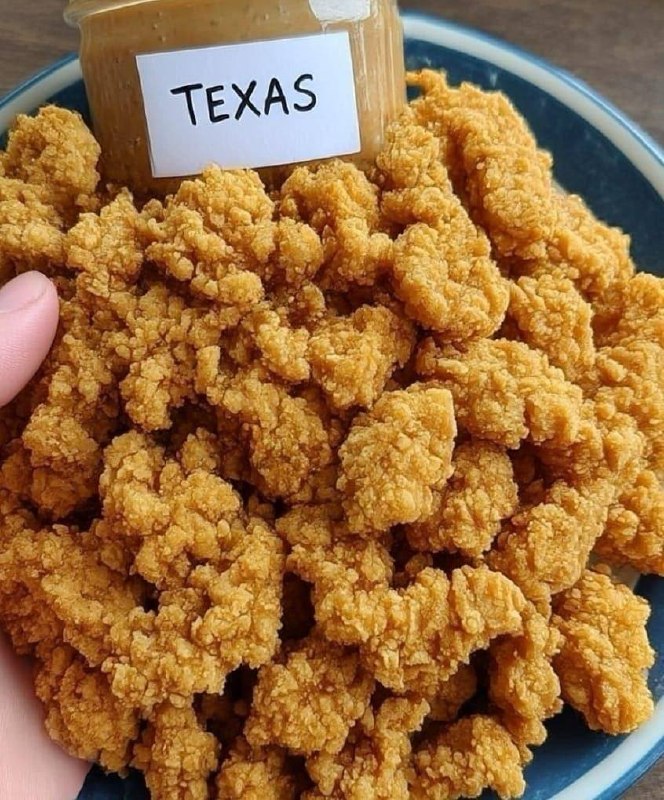
- If making the “Texas” dip, combine the creamy peanut butter with honey or maple syrup in a small bowl and stir until smooth.
- Once completely cooled, break apart any nuggets that have stuck together. Serve immediately, or store for later enjoyment.
Cooking Tips and Variations
Achieving the perfect crunch for your Homemade Texas Beaver Nuggets is all about the baking process. Don’t rush the baking time; the low and slow heat allows the coating to fully caramelize and the corn puffs to dry out and crisp up without burning. Stirring every 15 minutes is non-negotiable for even toasting and preventing large clumps. If your oven has hot spots, rotate the baking sheets halfway through. For an extra layer of flavor, you can lightly toast the puffed corn in the oven for 5-7 minutes before adding the coating, though this is optional. Just be careful not to burn them.
Customizing your Beaver Nuggets is where the fun really begins! For a chocolatey twist, melt 1/2 cup of chocolate chips (milk, dark, or white) and drizzle over the cooled nuggets, then let them set. If you love a hint of spice, add a pinch of cayenne pepper to the caramel mixture for a sweet and spicy kick that’s surprisingly delicious. Maple extract can be substituted for half of the vanilla extract for a delightful maple-pecan-like flavor profile. You can also experiment with other extracts like almond or butterscotch. For an even more decadent treat, sprinkle some finely chopped pecans or peanuts over the nuggets during the last 15 minutes of baking, allowing them to adhere to the warm coating.
Storage and Reheating
Once your Homemade Texas Beaver Nuggets have cooled completely and are wonderfully crisp, proper storage is key to maintaining their crunch. Store them in an airtight container at room temperature. A good quality airtight container will keep them fresh and crunchy for up to 1-2 weeks. Avoid storing them in the refrigerator, as the moisture can make them soft and chewy. If you find your nuggets have lost some of their crunch after a few days, you can easily revive them. Simply spread them out on a baking sheet and bake in a 250°F (120°C) oven for 5-10 minutes, or until they are crisp again. Let them cool completely before storing once more. This gentle reheating process will evaporate any absorbed moisture and bring back that irresistible texture.
Frequently Asked Questions
Can I use a different type of puffed corn snack?
It’s best to use unflavored puffed corn snacks, often found in the snack aisle or bulk bins. Avoid using cheese puffs or sweetened breakfast cereals like Corn Pops, as their existing flavors and coatings will alter the final taste and texture of your Beaver Nuggets. The goal is a neutral base to absorb the delicious caramel coating.
My caramel coating seized or became grainy. What went wrong?
This usually happens if the sugar isn’t fully dissolved before the mixture comes to a boil, or if you stirred the mixture too much while it was boiling. Ensure all sugar crystals are dissolved before it boils, and then resist the urge to stir during the 3-minute boil time. A tiny bit of corn syrup (as optional in the recipe) can also help prevent crystallization.
Why did my nuggets turn out chewy instead of crunchy?
Chewy nuggets typically mean they haven’t been baked long enough, or the oven temperature wasn’t consistent. The low and slow baking process is crucial for drying out the corn puffs and allowing the caramel to fully set and crisp. Make sure to stir them every 15 minutes for even exposure to heat. If they’re still chewy after cooling, you can always put them back in the oven for another 10-15 minutes at 250°F (120°C) to crisp them up.
Can I make this recipe ahead of time for a party?
Absolutely! Homemade Texas Beaver Nuggets are an excellent make-ahead snack. Prepare them up to a week in advance and store them in an airtight container at room temperature. They hold their crunch and flavor beautifully, making them perfect for entertaining, road trips, or just having a delicious snack on hand whenever the craving strikes.